Trouxe um tutorial super bacana para vcs, infelizmente ele está em inglês, mas só pelas as imagens dá para fazer, sem falar q podemos traduzir no Google Tradutor ;)
Felt Brown Bag Lunch Tutorial
· Comments are Closed
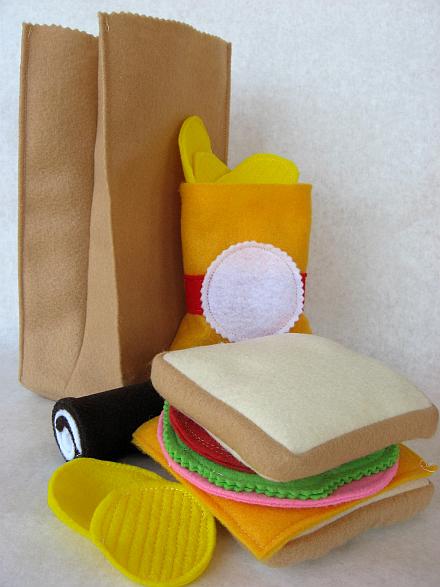
I don’t know what it is but I love felt food. Today on the menu is a very unhealthy sack lunch!
I have provided the instructions here in this post. You can make the shapes up as you go along or if you want to make it really easy you can download the templates for the food for $1.75 or place my button (code in the left sidebar) on your blog and you may download the templates for free. E-mail me that you have placed the button (or already have the button) and I will e-mail you the templates.
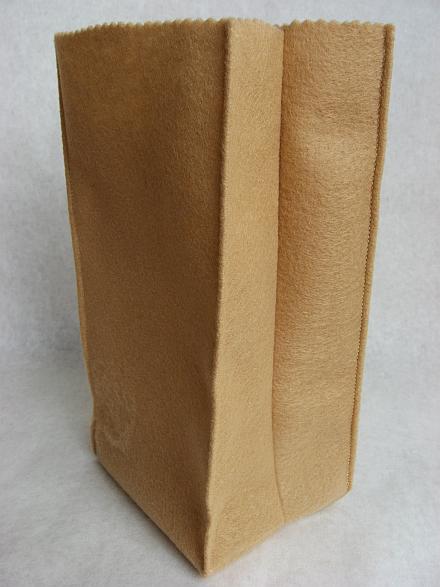
The Brown Paper Bag
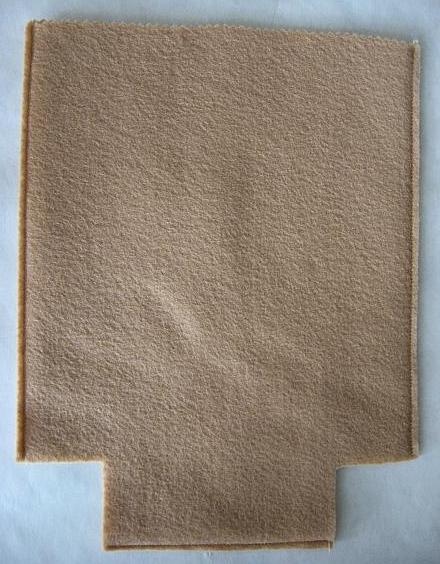
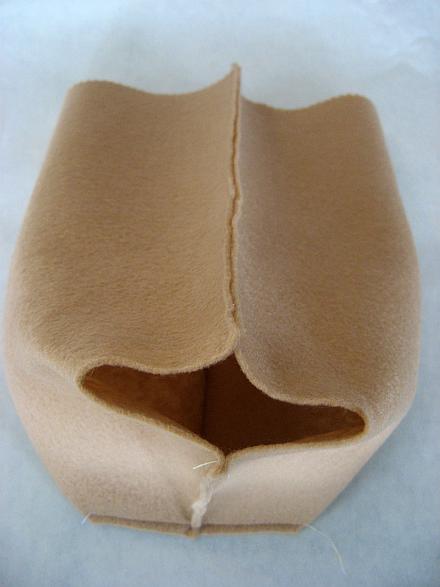
You need two pieces of light brown felt. Cut a square out of the bottom corner on each side. With pinking shears trim across the top. Trim just enough to pink the top. Sew across the bottom and along each side.
Finished!
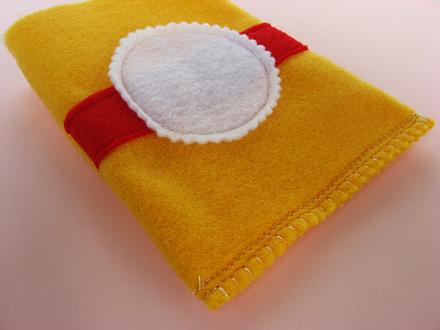
The Chip Bag and Chips
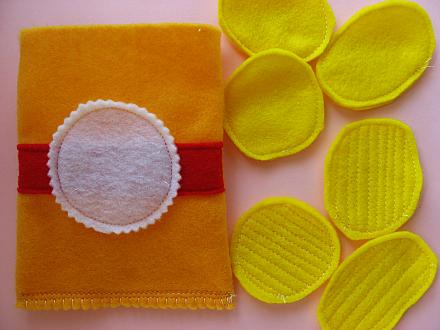
Cut two pieces of felt. Embellish the front with stripe and medallion. I meant to embroider “chips” in the white circle. You could also write chips with a paint marker.
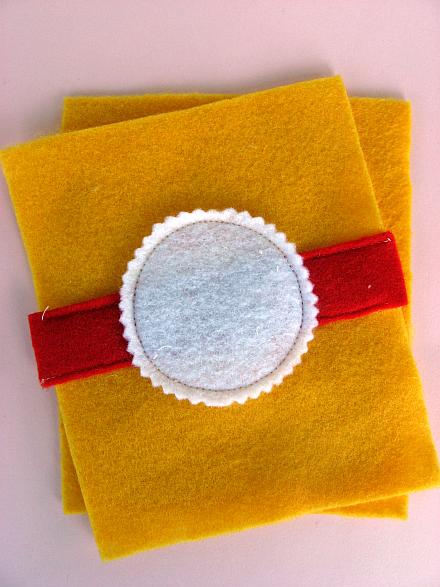 Place right sides together and stitch along each side. Turn right side out and then stitch across the bottom. I used a blanket stitch along with a couple rows of stitching.
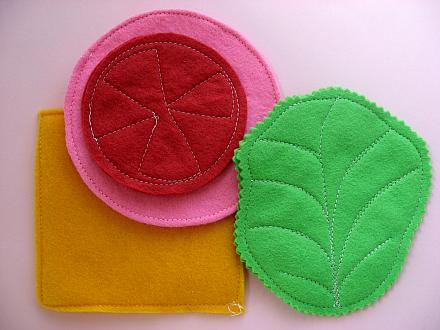
Cut chips out of yellow felt. Stitch together close to the edge. You can add rows of stitching to make them ‘ruffled’ chips if you like.
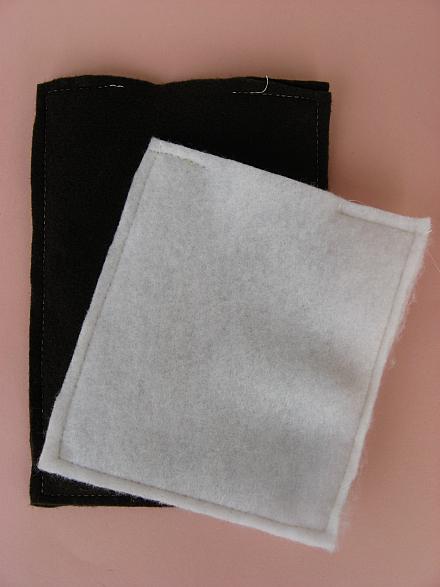
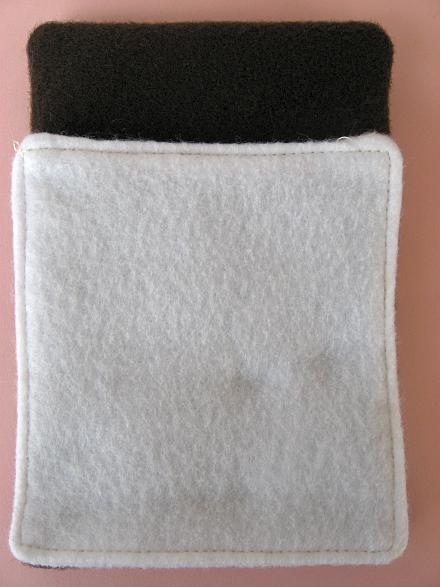
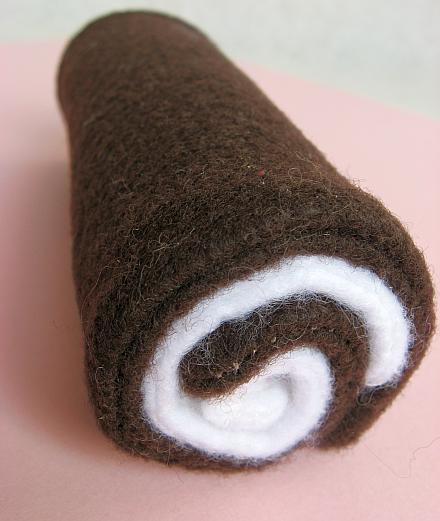
Cut 2 pieces if dark brown felt and two pieces of white felt.
Place the pieces together and sew around the outside edge, leaving an opening for turning on the short side.
Turn right side out. Top stitch around the edge on the white piece only. Don’t worry about closing the openings–they will be in the center. Place the white piece on top of the dark brown (bottom edges lined up) and roll up.
The Sandwich
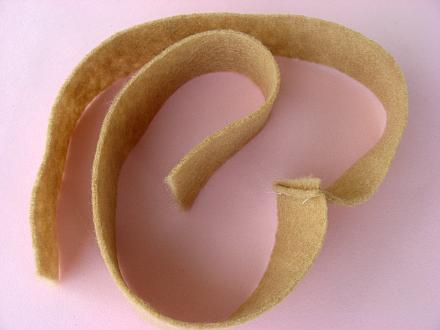
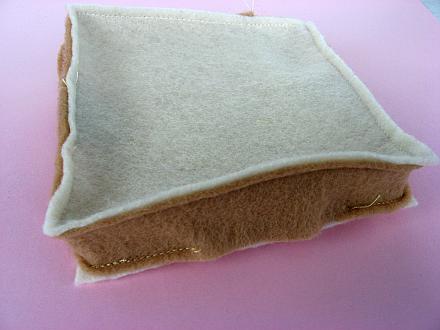
Cut two pieces of off – white fabric and a strip of light brown felt about. You might need to attach two pieces together.
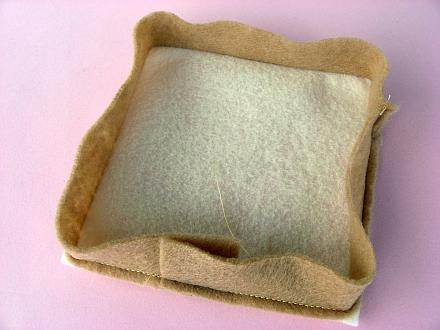
Sew the strip to one side of the white square overlapping the ends.
Sew the white square to the other side leaving an opening for turning.
Turn right side out. Stuff with polyester fiberfill and slip stitch opening closed.
Make ingredients for your sandwich by sewing two of each color together. You can sew around the edge leaving an opening for turning, turn and topstitch or just sew the pieces together (this is how I made them except for the bologna which I turned). Add details with your machine.
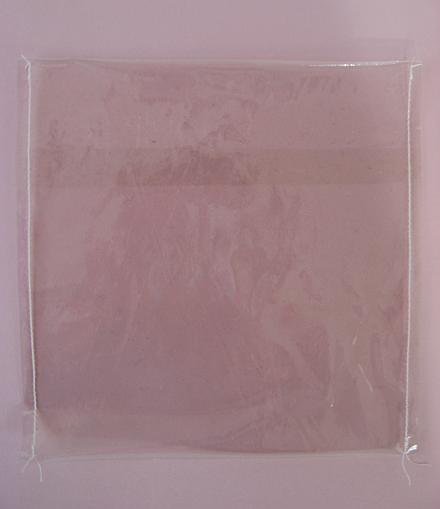
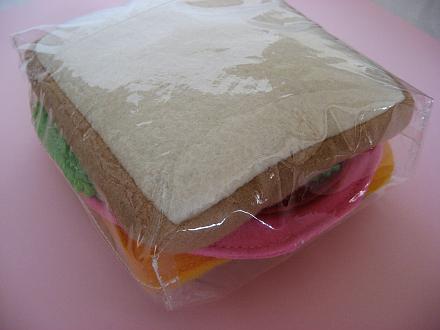
Every sack lunch sandwich needs a baggie.
The Baggie
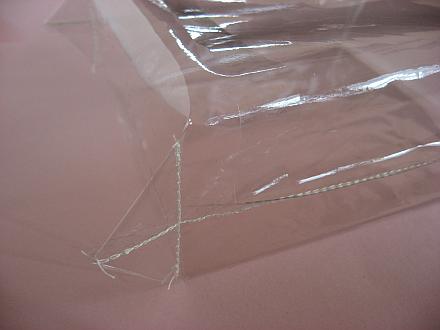
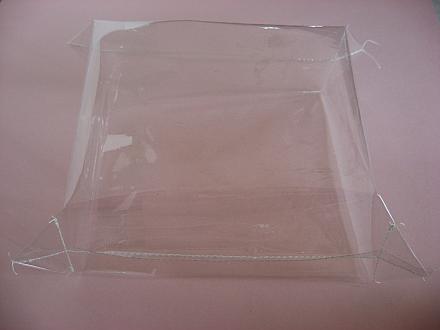
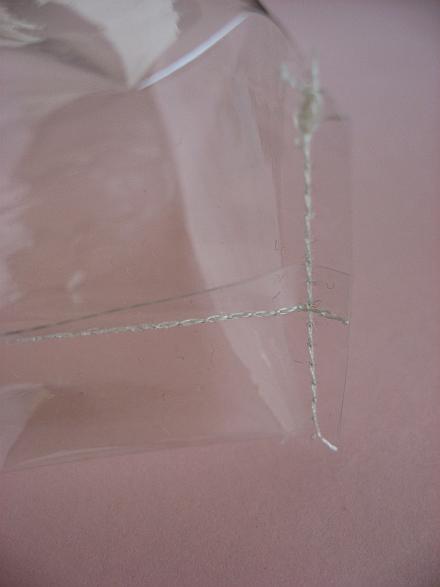
Using medium weight vinyl (this is really thin) fold top down and bottom up (bottom edge lays on top of the top edge. Sew along each side.
Trim off corners.
Bon Appetit!
Still hungry try some doughnuts!

Eu adorei, é super divertido.
ResponderExcluirUm beijo, http://bhulago.blogspot.com.br/
Tb amei!!!
ExcluirObrigada pela visita, volte sempre!
Bjs
Manu
Que legal o post, muito criativo!!
ResponderExcluirObrigada pela visitinha
Bjim da Nina
Eu quem agradeço, volte sempre!!!
ExcluirBjs
Manu
que lindo flor
ResponderExcluiramei o diy
vou tentar
bj
http://beautyetruques.blogspot.com.br
Oi gata!!!!! Obrigada pela visitinha, volte sempre.
ExcluirBjs
Manu
Olá passando pra desejar uma ótima semaninha e te convidar para participar do sorteio no meu blog,te espero lá...beijinhos
ResponderExcluirObrigada pleo convite :) Já chegando por lá.
ExcluirVolte sempre!
bjs
Manu